How to Replace Boat Trailer Axle?
Replacing a boat trailer axle is a manageable task that requires some mechanical know-how, the right tools, and safety precautions. Here’s a step-by-step guide to help you through the process:
Tools and Materials Needed
New axle (ensure it matches the specifications of your old one)
Jack and jack stands
Wheel chocks
Lug wrench
Socket set and wrenches
Pliers
Grease and grease gun
Safety glasses and gloves
Torque wrench
Anti-seize compound
Replacement U-bolts (if necessary)

Step-by-Step Instructions
1. Preparation
Safety First: Wear safety glasses and gloves to protect yourself from injury.
Secure the Trailer: Park the trailer on a flat, stable surface. Use wheel chocks to prevent it from moving.
2. Lifting the Trailer
Jack Up the Trailer: Place a jack under the trailer frame near the axle you’re replacing. Lift the trailer high enough to allow the wheels to be removed.
Support with Jack Stands: Place jack stands under the trailer frame to support it securely. Ensure the trailer is stable before you proceed.
3. Removing the Wheels
Remove Lug Nuts: Use a lug wrench to loosen the lug nuts on the wheels. Remove the wheels and set them aside.

4. Detaching the Old Axle
Remove U-Bolts: Locate the U-bolts that secure the axle to the leaf springs. Using a socket wrench, remove the nuts and washers. You may need to use penetrating oil if the bolts are rusted.
Free the Axle: Carefully lower the axle and slide it out from under the trailer. You might need help for this step as the axle can be heavy.
5. Preparing the New Axle
Inspect the New Axle: Ensure the new axle is the correct size and type. Compare it to the old one to confirm.
Grease Bearings and Spindles: If the new axle includes spindles and bearings, apply grease to ensure smooth operation. Use a grease gun to pack the bearings thoroughly.
6. Installing the New Axle
Position the Axle: Slide the new axle into place under the trailer.
Attach U-Bolts: Place the U-bolts over the axle and through the leaf springs. Secure them with new washers and nuts. Tighten them evenly to ensure the axle is aligned correctly.
Torque the Nuts: Use a torque wrench to tighten the U-bolt nuts to the manufacturer’s specifications. This ensures the axle is securely attached.
7. Reinstalling the Wheels
Mount the Wheels: Place the wheels back on the axle hubs. Hand-tighten the lug nuts initially.
Lower the Trailer: Carefully remove the jack stands and lower the trailer back to the ground using the jack.
Tighten Lug Nuts: Use the lug wrench to fully tighten the lug nuts in a star pattern to ensure even pressure.
8. Final Checks
Check Alignment: Ensure the axle is centered and the wheels are aligned properly.
Test the Trailer: Before taking your boat trailer on the road, do a test drive in a safe area to ensure everything is functioning correctly.
Re-Torque Lug Nuts: After a short drive, re-torque the lug nuts to ensure they are still tight.
Tips and Warnings
Choose the Right Axle: Ensure your new axle matches the weight capacity and dimensions of your old one.
Inspect Other Components: While the axle is off, inspect the leaf springs, hangers, and shackles for wear and replace them if necessary.
Regular Maintenance: Regularly inspect and maintain your trailer’s axle, bearings, and suspension to prevent future issues.
Replacing a boat trailer axle involves careful preparation, the right tools, and attention to detail. By following these steps, you can ensure a safe and effective axle replacement, prolonging the life of your trailer and ensuring your boat remains securely transportable.
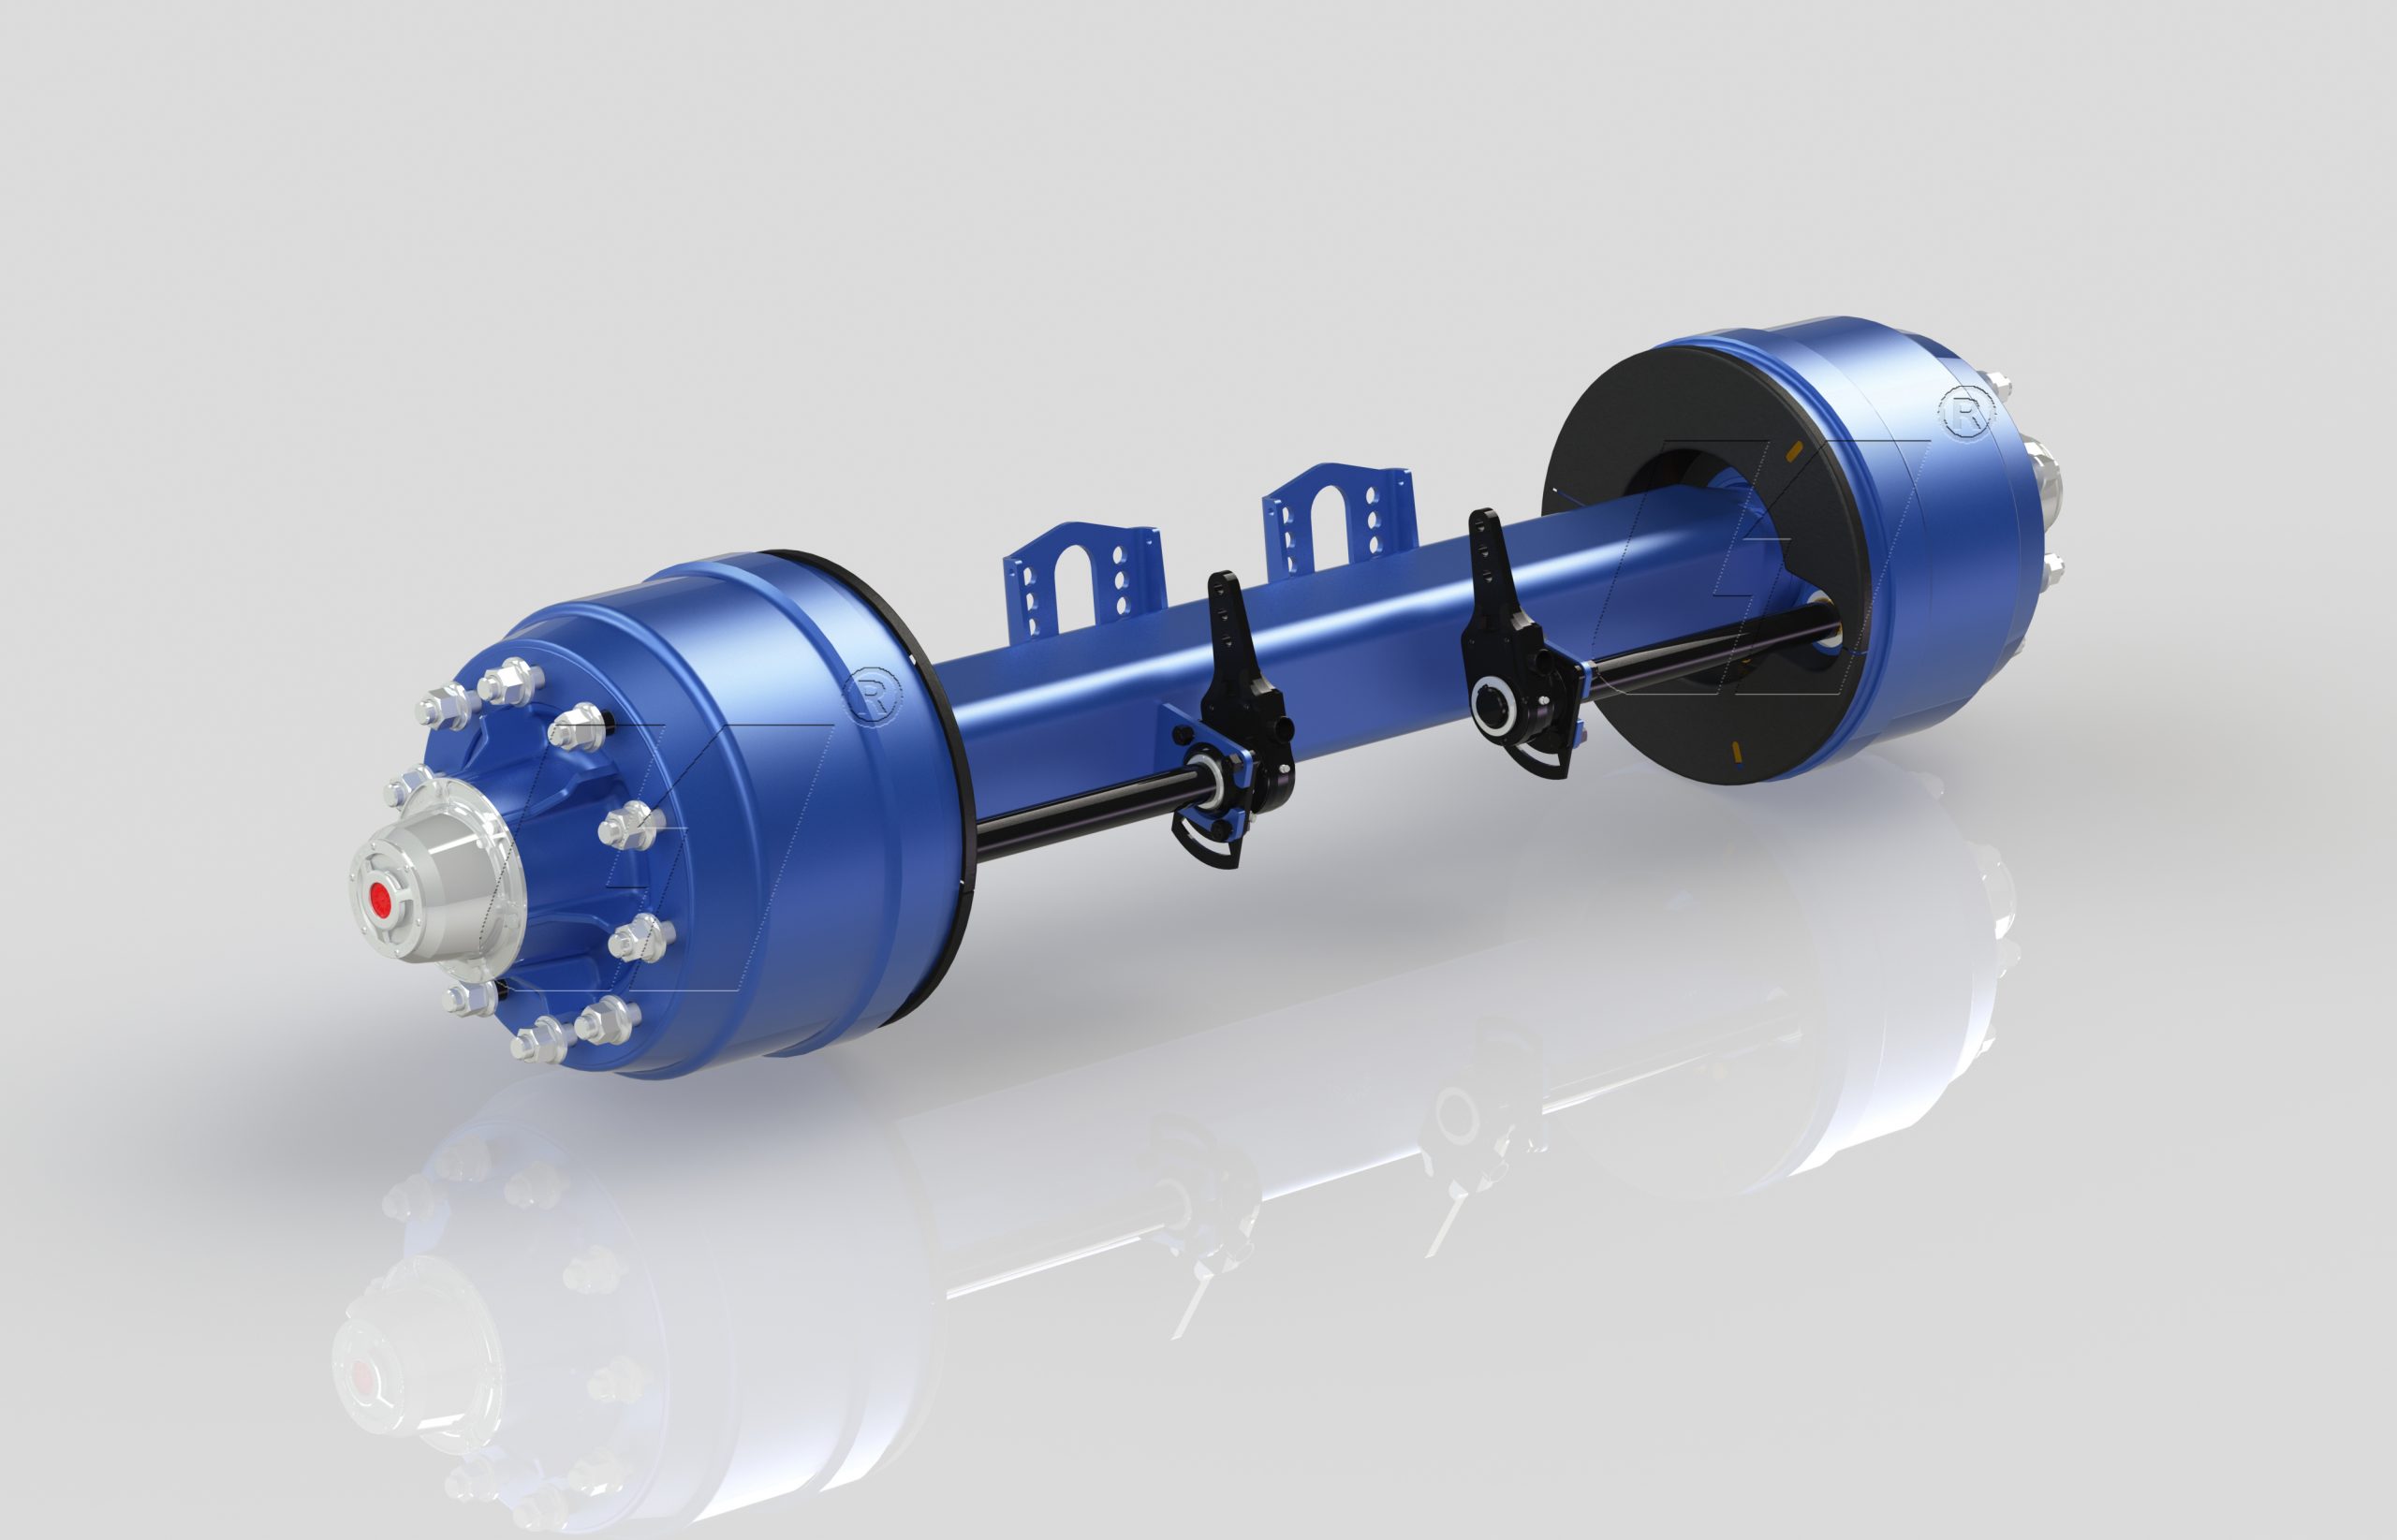
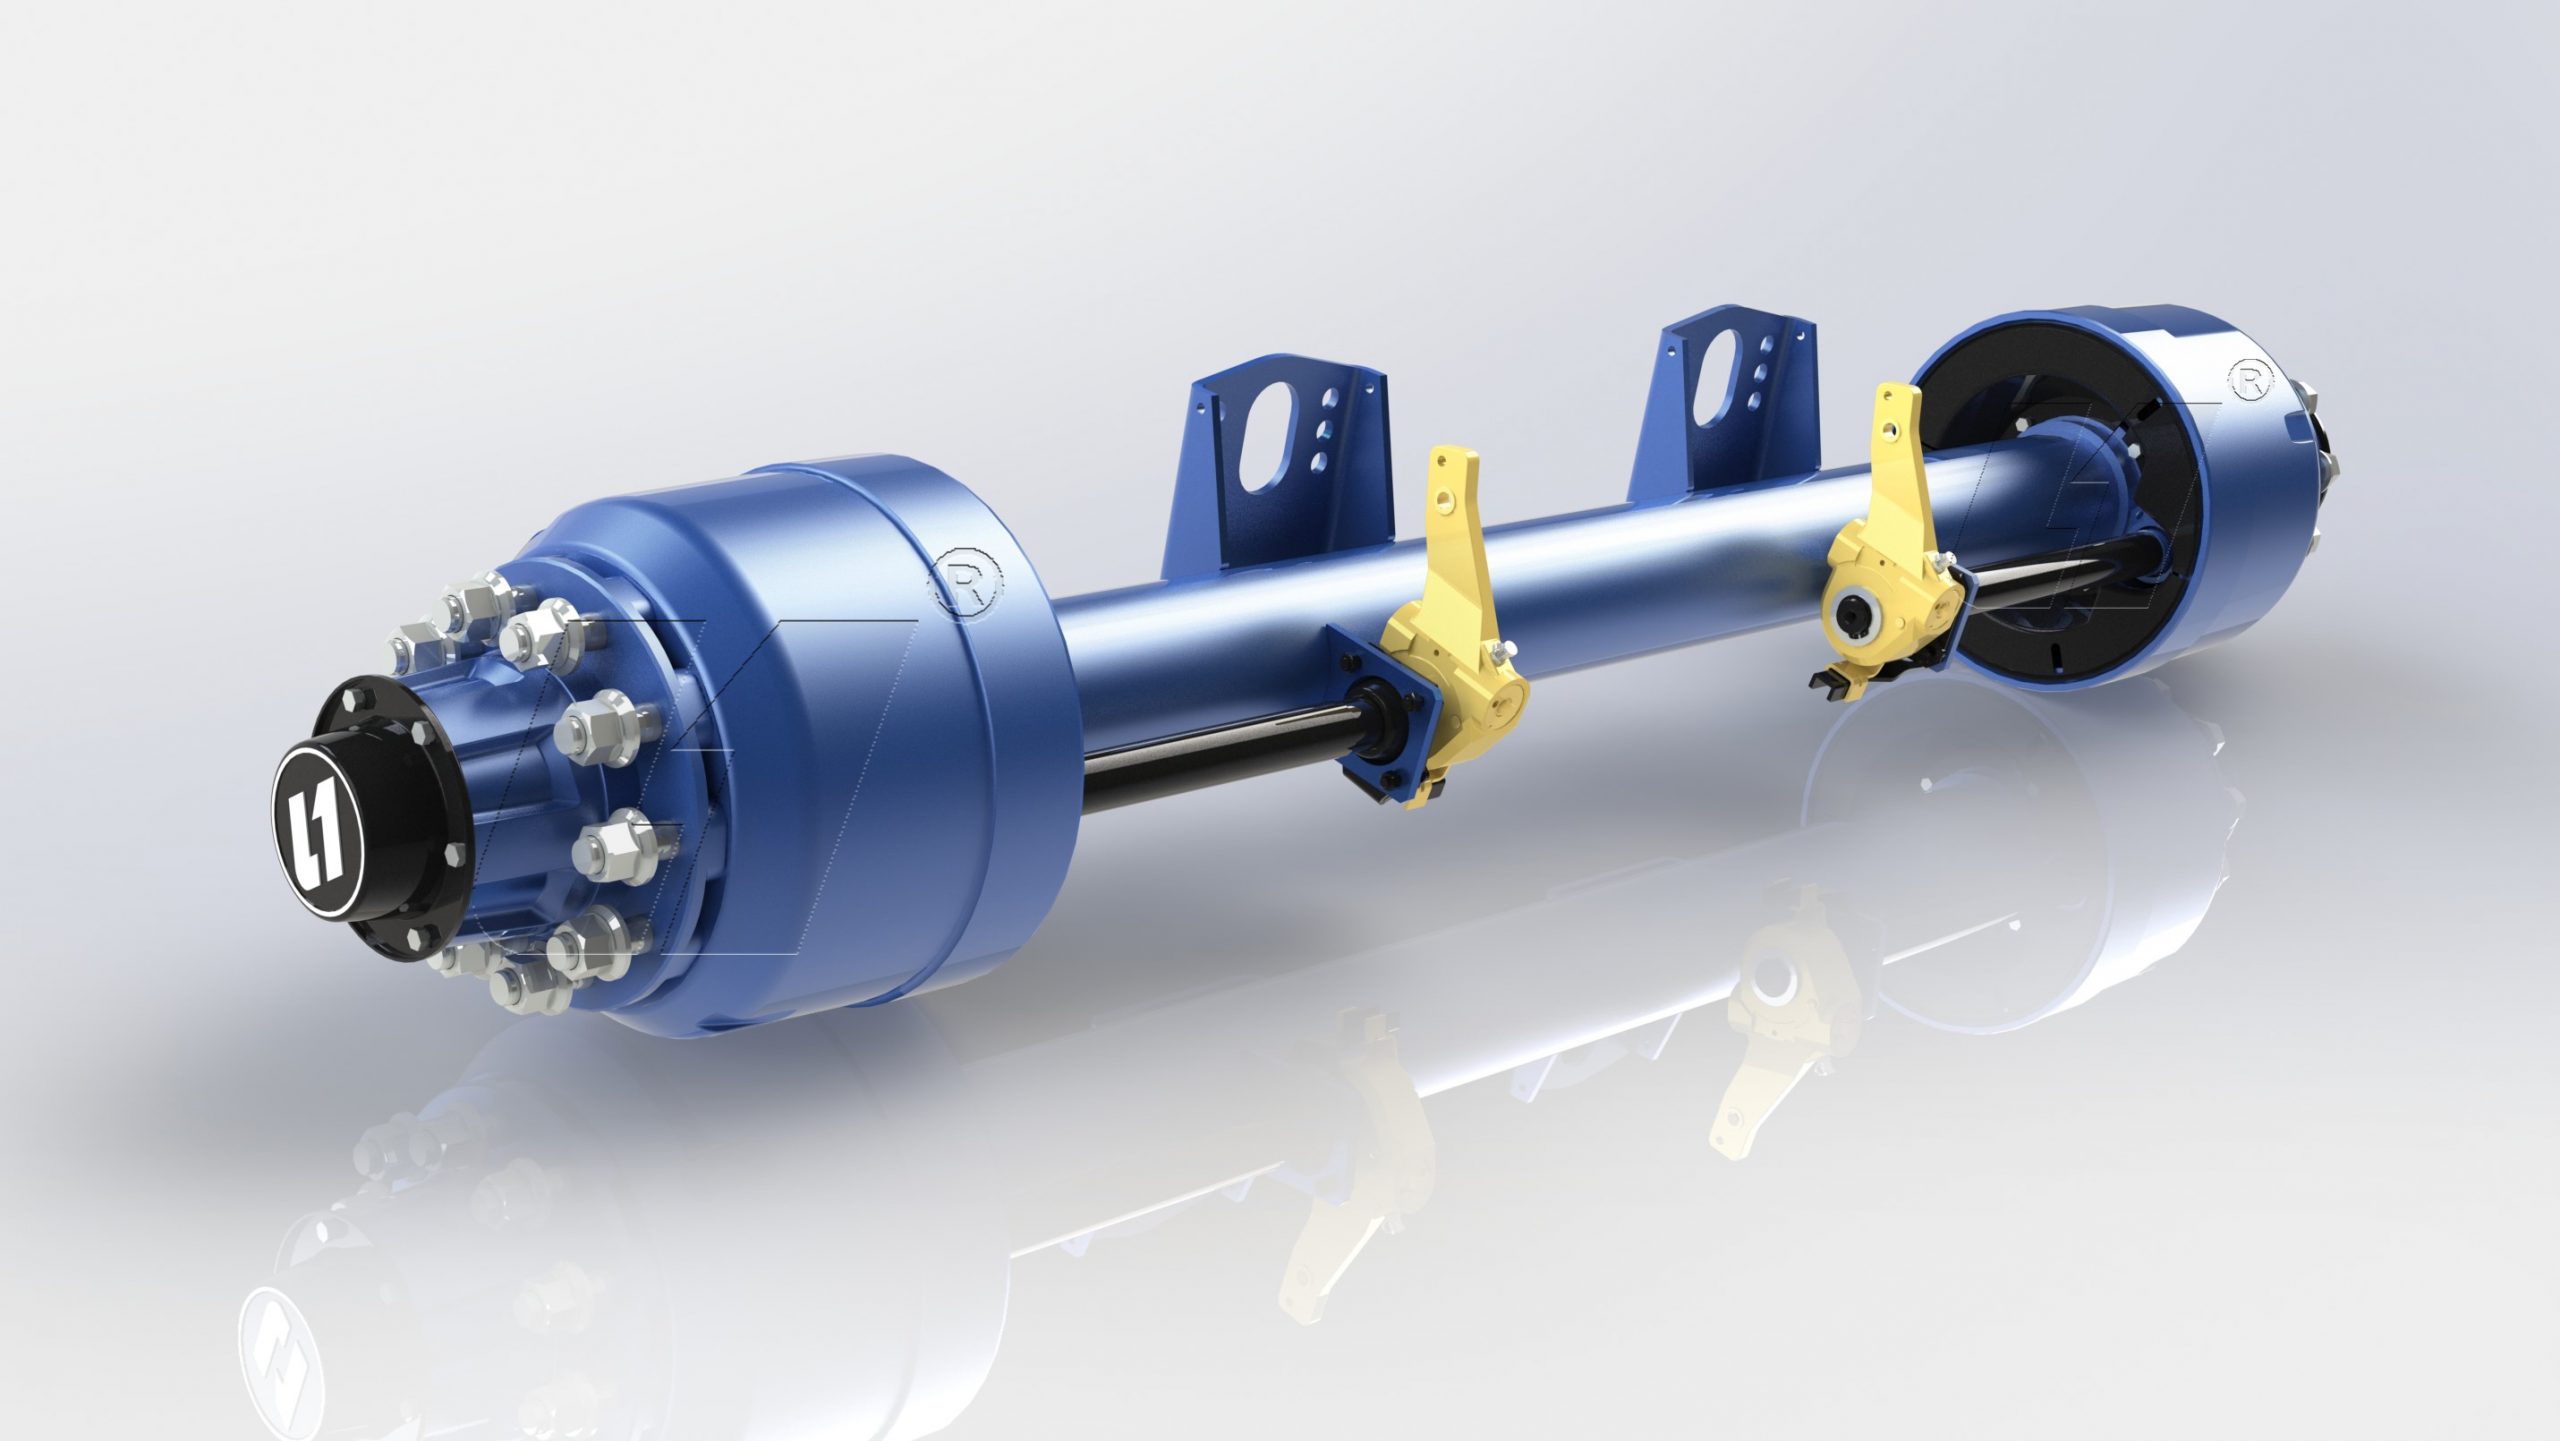
Whether you’re hauling a small fishing boat or a large yacht, Yonglitai American Outboard Axles are a reliable and durable choice for your boat trailer. Trust in their outboard design and high-strength steel construction to keep your boat safe on the road. If you’re going to wholesale high quality American Axle Series made in China, welcome to get more information from our factory.


